
Hiking layering system is the key strategy hikers use to stay comfortable, dry, and safe in any condition. Understanding this flexible approach helps you confidently adjust to changing weather, different trails, and high or low exertion—so you can focus on the adventure, not your clothing.
Key Takeaways
- Layering is about managing moisture, warmth, and protection—it adapts to climate and your activity, not a strict temperature.
- The right base, mid, and shell layer work together; poor fit or material choices often cause discomfort.
- Real-world problems like overheating, dampness, odor, and fit issues are common, but avoidable with practical tweaks.
- What Is a Hiking Layering System and Why Does It Matter?
- Step-by-Step Guide to Building Your Layering System
- Advanced Analysis & Common Pitfalls
- Conclusion
- FAQ
What Is a Hiking Layering System and Why Does It Matter?
A hiking layering system is a flexible clothing strategy built around three core layers: base layer, mid, and shell. Each serves a specific purpose—wicking moisture, trapping warmth, and blocking weather. This modular approach lets you adjust for temperature swings, varying effort, or sudden weather changes, all without needing to stop and fully change clothes.
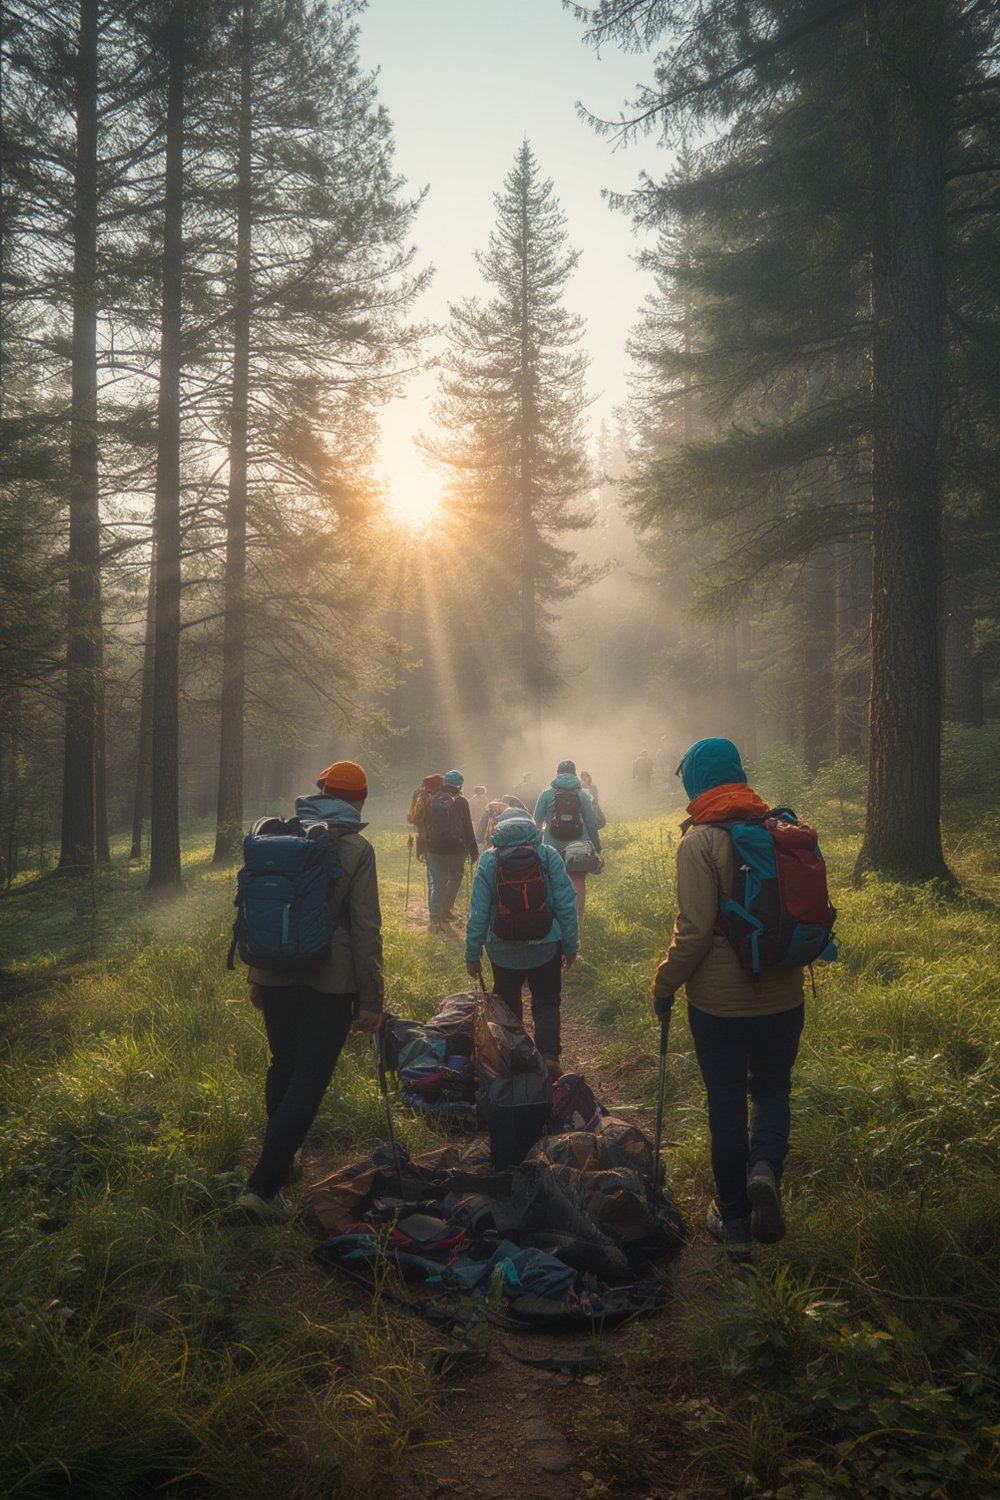
Most systems follow these principles:
- Base layer (synthetic or merino): Pulls sweat off your skin, reducing chilling and dampness.
- Midlayer (fleece, synthetic, or merino): Traps warm air and provides insulation.
- Shell (windproof or waterproof): Protects from rain, snow, and wind while allowing breathability.
This method is proven, but personal comfort depends heavily on what you pick for each layer, how hard you’re working, and how the weather shifts. For more on picking lightweight, comfortable hiking gear, see our lightweight hiking backpack guide.
Step-by-Step Guide to Building Your Layering System
Follow these steps to create a system that works for any trip, from quick trails to multi-day treks:
-
Assess the Conditions and Your Output
Know if you’ll be in dry, cold, humid, or variable weather. Decide if you’ll be moving fast or taking lots of breaks. -
Choose Your Base Layer
Go for synthetic (like polyester) if you sweat a lot during high-output hiking, or lightweight merino wool (120–150 GSM) for better odor control on multi-day trips. Avoid cotton, as it traps moisture and chills you when resting (source). -
Select the Right Midlayer
Use thin fleece or a synthetic-insulated midlayer for cool to cold conditions. For short stops, carry a warmer, compressible jacket (down or thick synthetic) in your pack. -
Pick Your Shell Layer
Opt for a windproof shell for dry cold, or a waterproof-breathable shell for rain, snow, or stormy forecasts (source). Make sure there are vents—like pit zips or two-way zippers—to allow heat and moisture to escape. -
Dial in the Fit
Each layer should fit close but not tight, allowing moisture to wick outward and air to circulate. Try it all on with your backpack to spot friction or tight spots. -
Adjust and Ventilate on the Move
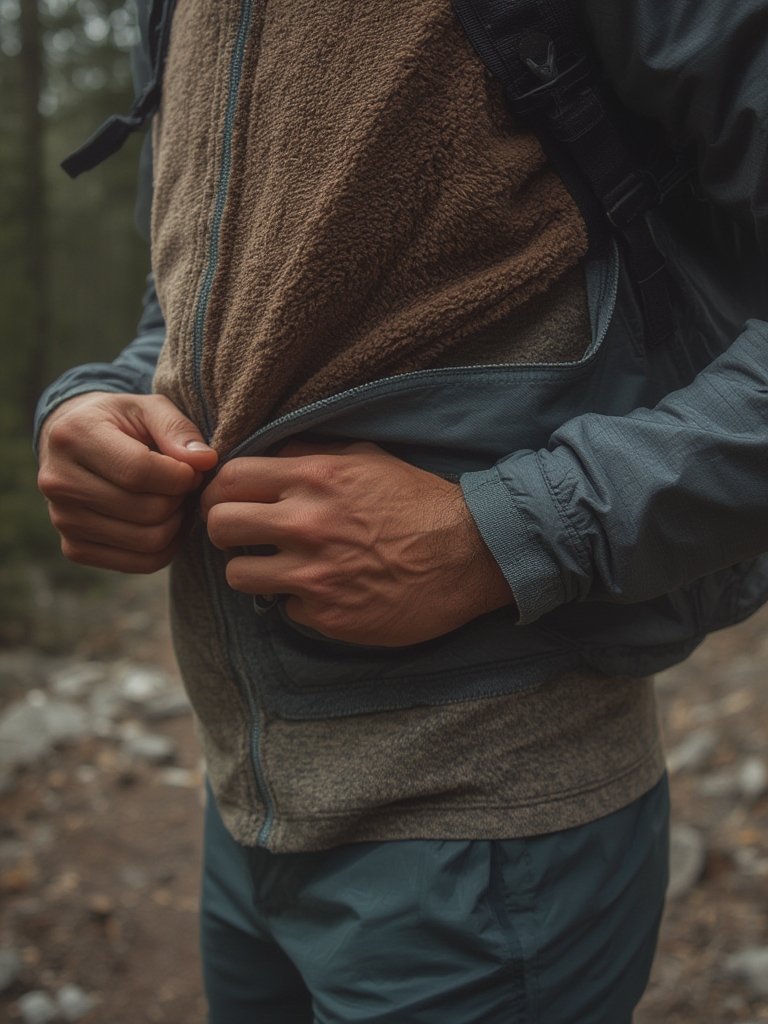
Start cold—you’ll warm up quickly. Open zippers, remove the midlayer, or stash your shell as soon as you feel too warm. Don’t wait until you sweat; damp base layers cause problems later. -
Plan for Stops
When you pause, put on extra insulation quickly before you cool down. Keep a dry jacket or thick layer handy for this.
When picking socks, opt for merino wool blends for blister prevention and comfort—see our hiking socks merino wool guide for more details.
For longer trips or varied weather, consider clothing that adds value: a hiking water bottle insulated to avoid dehydration chills and a weatherproof hiking tent for safe overnight stops.
Advanced Analysis & Common Pitfalls
Even with great gear, hikers run into the same avoidable problems. Here’s how to spot and fix them before they ruin your hike.
Common Pitfalls in Hiking Layering Systems
- Overheating: Wearing too-thick base or midlayer, or not venting shells quickly enough when exertion rises. Solution: Prioritize ventilation and lighter layers (source).
- Moisture Build-up: Waiting too long to vent, or using non-breathable shells that trap sweat. Prioritize breathable shells and frequent venting.
- Odor Buildup: Synthetic fabrics get smelly much faster in multi-day use than merino. Merino’s natural odor resistance is best for long trips (source).
- Poor Fit: Layers that are too tight trap moisture; too loose, and wicking fails. Backpack friction amplifies this. Always test with a loaded pack.
- Shell Limitations: Rain jackets often feel like they leak, but poor breathability is the real issue. Look for mechanical venting (pit zips, core vents).
- Pilling and Abrasion: Merino is comfortable but less durable than synthetics, especially under packs. Synthetics last longer but may hold odor.
Material Comparison Table
| Material | Comfort/Buffering | Odor Control | Drying Speed | Abrasion Resistance | Cost |
|---|---|---|---|---|---|
| Merino Wool | Excellent | Excellent | Moderate | Poor–Moderate | High |
| Synthetic Polyester | Good | Poor–Fair | Excellent | Excellent | Low–Moderate |
| Recycled Synthetics | Good | Fair | Excellent | Excellent | Moderate–High |
| Cotton | Poor (especially when wet) | Fair | Poor | Moderate | Low |
Durability and environmental cost are also crucial. Recycled and natural fabrics offer eco advantages, but only if they last—see our sustainable hiking gear guide for a deep dive.
Conclusion
A smart hiking layering system lets you fine-tune comfort and safety on every trail. By choosing the right fabric, fit, and features—and staying proactive about venting and insulation—you’ll avoid overheating, dampness, and expensive buying mistakes. Whether you choose synthetic, merino, or a hybrid kit, focus on how each layer fits your specific adventure. Adapt, test, and be ready to swap layers as your pace or the weather changes. If you want to boost comfort even further, pair your kit with supportive women’s hiking boots or lightweight trekking poles for longer hikes. Ready to update your own hiking layering system? Test new combos on your next outing, and revisit your setup as seasons change.
FAQ
What is the best base layer material for hiking?
Synthetic fibers are best for high-sweat, high-output hiking because they dry rapidly, while lightweight merino wool controls odor better for multi-day trips. Avoid cotton as it retains moisture and chills you when damp.
How do I stop overheating when hiking?
Start your hike feeling slightly cool, ventilate early using zippers or by removing layers, and carry a lighter midlayer. Overheating is often caused by wearing too much during intense activity and waiting too long to vent.
Should I use the same layers when I stop for breaks?
No. Carry a warm, dry jacket or thicker layer for breaks. The clothing that works while moving can chill you fast once you stop. Change layers quickly when pausing, especially in cold or windy weather.
Does investing in premium layers make a real difference?
Higher-priced layers often mean better fit, durability, and breathability, but you can find good performance at midrange prices. Focus on tried-and-tested fit and features rather than brand alone, and always test your kit before a big trip.
How much should I budget for a complete hiking layering system?
In North America, expect to spend about US$100–$150 for a merino base layer, US$140 for a quality midlayer, and US$275–$325 for a technical shell. European prices are similar in euros. Your total kit might run from US$300 up to $700 depending on material, durability, and brand.
[…] For detailed layering options, check out this hiking layering system guide. […]